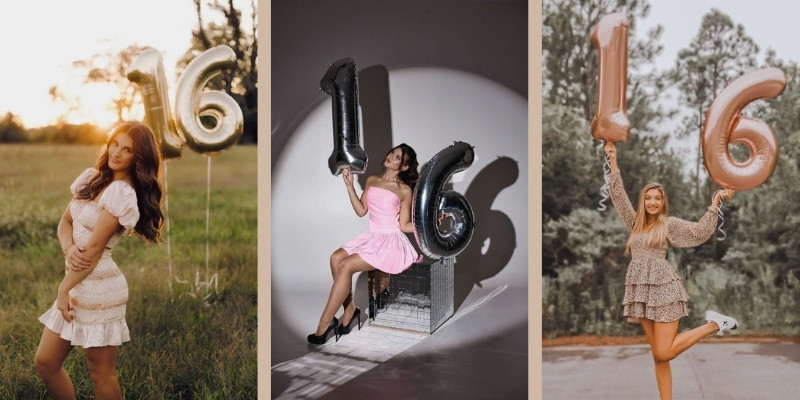
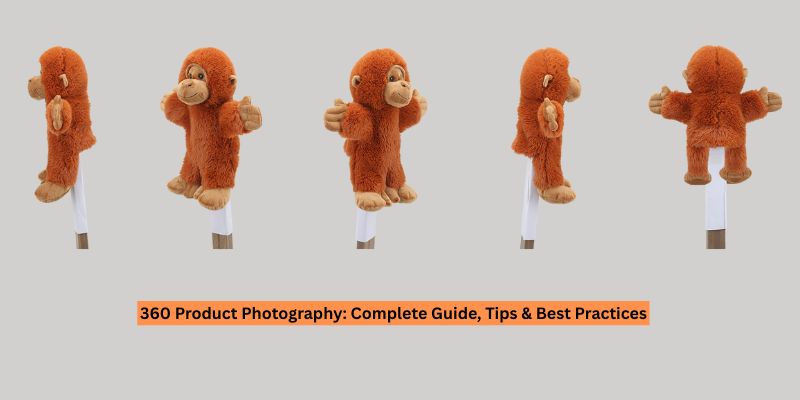
What is the art of photo retouching? Today I will discuss some creative techniques for beautiful images below. So keep reading the article first to last attentively. Photo retouching is fixing any mistakes or unwanted features in a photo, like color and tone corrections, removal of blemishes, and adjustments to brightness, contrast, and saturation. Everyone wants their photos to look good, but this is only possible with photo editing tools. These tools help us fix mistakes and make our photos look their best. Even the best photographers can’t always get the perfect shot. This can happen for various reasons, like not having enough light, a model getting a blemish, or products having scratches. Sometimes we need more time to fix things before taking the photo. In this case, photo retouching can help you solve these problems. Let’s learn in detail about the art of photo retouching and techniques for beautiful images below.
Table of Contents
ToggleWhat is Photo Retouching?
The Art of Photo Retouching: Techniques for Beautiful Images
A crucial project component involving products, model pictures, natural images, etc., is photo retouching service. It is possible to greatly enhance the beauty of any kind of picture and boost the glitz of the products by using expert photo retouching. Some images taken with a good digital camera can need some retouching to make them look better for your photography business. Photos need retouching to look more attractive, making them more valuable. This makes products more attractive to potential customers, leading to increased sales. Correcting lighting and color or restoring an image to its original color can make it look more appealing. Let’s learn about the importance of photo retouching and some essential Photoshop photo retouching techniques below.
Importance of Photo Retouching
Photo retouching is a type of editing that can be done to photos to make them look better. Some types of photo retouching that can be done include editorial work, portrait photography, commercial photography, product photography, creative work, and beauty retouching. There are different types of photography, each with rules for retouching. For example, editing a portrait is other than editing a product photo. Photo retouching is vital for many reasons. Below I have discussed the importance of photo retouching in the fashion, portrait, and e-commerce photography sectors.
1 . Fashion photography
Fashion brands use photo retouching services to make their models look more beautiful. This makes fashionistas more likely to buy new clothes because they see how good the models look. Sometimes the colors and details in an image may not be as accurate as we would like them to be. However, focusing on a specific object can give us a more accurate picture of the rest of the image. We can use the photo retouching option to make the colors and details more accurate.
2. Portrait photography
A portrait photograph captures the personality of the person in it. This is because different aspects of the person’s character can’t be captured during the photo shoot itself – such as the color and sharpness of the image, the person’s skin texture, and the details on their face. So, in cases like these, a retouching service will help to improve the photograph. So, under portrait retouching, a retoucher can make any flaws disappear, adjust the photo’s tone and brightness, and eliminate any dark spots. This makes the image seem much more positive and attractive.
3. E-Commerce photography
Photos are crucial in marketing your products or services. You need to ensure your photos look good and capture the attention of potential customers. A commercial photo retouching service can help make your marketing materials look professional and attractive. Sometimes an image may not match the brand. And for an e-commerce business owner, keeping the image more attractive and eye-catching is imperative, and photographers use their past images to catch others’ attention. Therefore, retouching services are a good option for e-commerce owners and photographers. When selling products online, a good photo can help improve your sales.
Photoshop Photo Retouching Techniques
Different methods can be used to improve the look of photos after they’ve been taken. Some make the images look more like the models in magazines, while others make them look more natural. It’s easy to look like a model yourself if you use the right retouching techniques. Photos in magazines are edited to make them look nicer. Professional photographers sometimes do more than just basic editing to portraits – they can retouch them. Retouching is a common method used to improve photos. Retouching is the next step in editing your photos. This means that we need to enhance the images of any imperfections. During retouching, we need to focus on the skin, facial features, and hair. How does photo retouching make a stunning image? Many different editing tools and techniques are used, but the process usually goes like this: First, you fix any mistakes in the picture. Then, you use different editing tools to make the image look better. Below is the step-by-step process of Photoshop photo retouching techniques for a model.
Step 1: Prepare your model photo
Don’t choose a model who has soft skin or who has been heavily retouched. You should use high-quality pictures so that you can see the pores. Retouching the model’s skin can vary depending on the goal and the model in the picture. To crop the image, activate the crop tool by pressing C. Remove the lower part of the model body to focus on her face.
Step 2: Make a new layer
To create a new layer, press Cmd/Ctrl+Shift+N. Press J to activate the Healing Brush Tool. This tool cleans the skin and eliminates wrinkles, acne, or other undesirable details.
Step 3: Merge the background
To combine the backdrop and the healing brush layer into a new one, press Cmd/Ctrl+Option/Alt+Shift+E. To add the filters to this layer without causing any damage, turn it into a Smart Object. Use the Unsharp Mask filter to make the skin appear more noticeable. Filter > Sharpen > Unsharp Mask should be selected. The values rely on the sharpness of your model’s skin. Drag the Amount, Radius, and Threshold until you achieve the desired appearance, but remember that this is still early on, and you shouldn’t make too many changes to the skin. If it’s already sufficiently pointed, don’t sharpen it.
Step 4: Convert the layer to a Smart Object
Merge the layers once more and transform this layer into a Smart Object. Go to Filter > Other > Custom: Use a soft black brush to reduce or remove the effect on the hair, lips, eyes, contours of the face, nose, or anywhere you discover too much sharpness than anticipated.
Step 5: Soften the neck
Create a new layer and apply the Color with a gentle brush to smooth the neck; choose an opacity and flow of about 30–35%.
Step 6: Use an adjustment layer
If you want to alter the model’s Color, use an adjustment layer. Selective Colors can be found under Layer > New Adjustment Layer. Use a soft black brush on the Selective Color layer mask with opacity and flow of about 30–35% to lessen the impact on the neck, shoulder, and eyes.
Step 7: Use a Color Balance adjustment layer
Use a gentle black brush to eliminate the cyan cast from the hair, neck, shoulder, and eyes on this Color Balance layer mask. Create a Curves correction layer to boost the model’s contrast and highlights. Desaturate the model’s hue using a Vibrance adjustment layer.
Step 8: Add more light
Create a new layer and paint the cheeks, forehead, nose, jawline, and area above the lips with a soft brush in white to give the model more light. This layer’s setting should be Soft Light 100%
Step 9: Use the dodge and burn tool
Create a new layer and set the mode to Overlay 100% with a 50% dark fill. To improve the model’s light, shade, and other features, activate the Dodge and Burn Tool(O) with Midtones Range, Exposure 20%. (eyes, nose, cheeks, forehead). Create a new layer and paint on the lips with the gentle brush and #c06171 color to make them look better. Set the setting to 60% Soft Light. The process of photo retouching of a model is done. So by following the steps above, you can also do photo retouching of any model easily.
Conclusion
The art of photo retouching has been described above. Hopefully, you have enjoyed reading this article. Overall, these are the most critical techniques for beautiful images written above. Photos can be improved with retouching, a technique that can make them look better. There are many different ways that retouching can be used, and it is important to be clear about what changes are being made, so people understand and understand. Image editing services involve making changes to the pictures so they look better. Each photo can take a few seconds to a few minutes, but editing 500 or more photos simultaneously can take hours. Some photographers keep this process a secret because it is hard work. If you need any more clarification about the art of photo retouching, then leave a comment below.
Frequently Asked questions
With digital retouching software such as Photoshop, you can use tools to make the images look better. For example, you can use blurred brushes to soften the image or change the color of certain parts. However, this can sometimes make the image look unnatural or like it needs to be made up.
Product photo retouching is a process of editing images of products to make them look more excellent and professional. This can include fixing mistakes, resizing them, and converting them to a different file format. More advanced techniques, like removing ghosts and wrinkles, can make the images look better.
Product photo retouching service is editing product photos to improve their quality and appeal to customers. It involves correcting imperfections, adjusting colors, removing unwanted elements, and enhancing details. The goal is to create high-quality images that showcase the product and increase sales.


